Installation
The BuyVPN client is easy to use and it can be installed in a few minutes. In this guide, I’m going to show you how to install the VPN Client and establish your first connection.
Download the Setup
You can find the .exe file in the client area https://buyvpn.com/panel/clientarea.php.
Run the Setup file
Read the ToS and check the “I agree” box. Click on INSTALL.
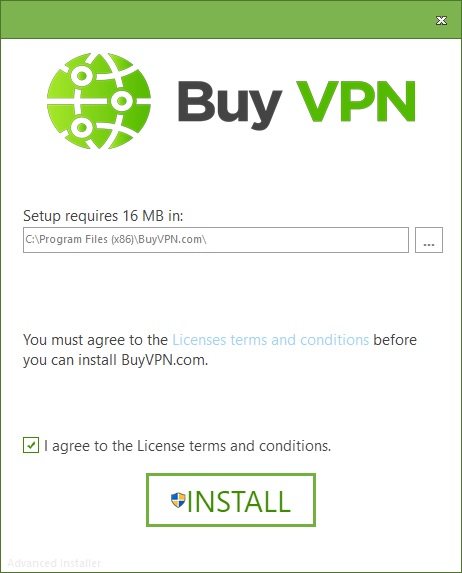
VPN Installer
After a few seconds, the VPN Client will be installed on your computer and you should see our app icon on your desktop.
.NET Required
Most Windows machine come with the version of .NET neede for our app to run, but if the correct version is not present, the installer will download it from Microsoft.com.
No action is required on your part as the app will fix this .NET dependency automatically.
Your First VPN Connection
Establishing a VPN connection is even simpler than the installation.
Logging in
Use the desktop shortcut to open the VPN app. Insert the VPN credentials you selected and click Login.
Please note that these credentials are different from your email\password used on our billing platform.
You can see your VPN Credentials in your client area.

To login faster, check the Remember Me box.
Making a connection
From the list of servers, you can choose any location you prefer. Select it and click on the Connect button.
After a few seconds, the VPN connection will be established.
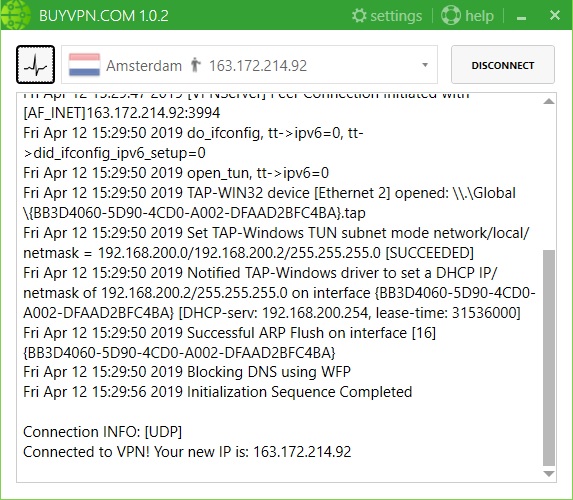
Amsterdam VPN Connection
When the client is connected, the window is automatically minimized and the flag of the VPN location is added to the taskbar icon.
![]()
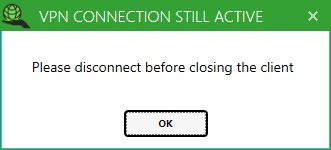
Disconnecting
In order to disconnect from the server, click on the Disconnect button and wait a few seconds. Closing the VPN Client while the connection is active will result in a prompt message.